If you run a small or medium business, you probably feel this tension every week:
You know video works. Your budget and time say otherwise.
Shooting, editing, revisions, freelancers, agencies… it all adds up fast.
Image to Video AI is essentially a shortcut: it lets you turn the photos you already have into short, dynamic videos that are good enough for ads, product pages, and social content—without extra gear or a creative team.
In this guide, I’ll walk you through how Image to Video AI works, where it actually makes money or saves time for small businesses, and how to plug a free tool into your workflow starting today.
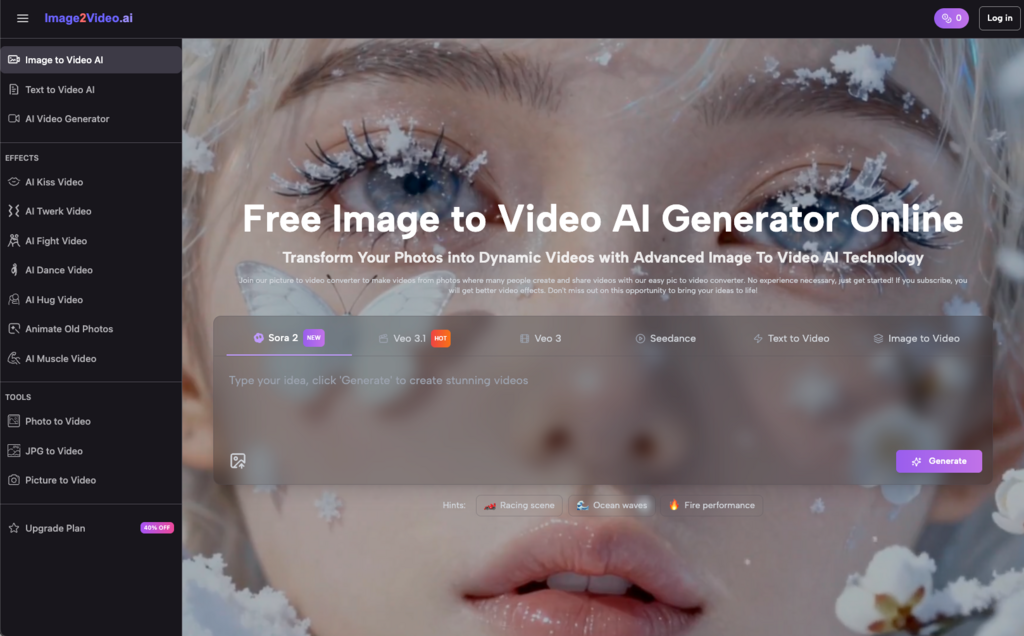
Image to Video AI is a type of tool that turns a static photo (or a few photos) into a short video clip with motion, transitions, and sometimes voiceover or music.
Under the hood, Image to Video AI analyzes your image, figures out what’s foreground vs background, and simulates camera moves like zoom, pan, or slight 3D rotation. Some tools also add captions, music, or even AI avatars that talk over your image.
From your side, the experience is simple:
Upload a photo → describe what you want → wait a minute or two → download a ready-to-use video.
No editing timeline. No learning Premiere Pro. No hiring a freelancer.
For most SMB founders I work with, the bottleneck isn’t ideas—it’s execution. You probably already have:
The problem is: those assets sit in a drive or on your website and never become video.
Here’s where Image to Video AI shines for small businesses:
You don’t need a camera crew, studio, or editor. A decent Image to Video AI tool can turn one product image into a short, scroll-stopping clip in minutes.
Instead of taking a week to “get one good video done,” you can spin up multiple Photo to Video variants in an afternoon and test them in ads or on social.
You’ve already invested in product photography or branding. Image to Video AI lets you squeeze more ROI out of every asset.
Anyone who can upload a photo and type a short description can use Image to Video AI. No technical skills needed.
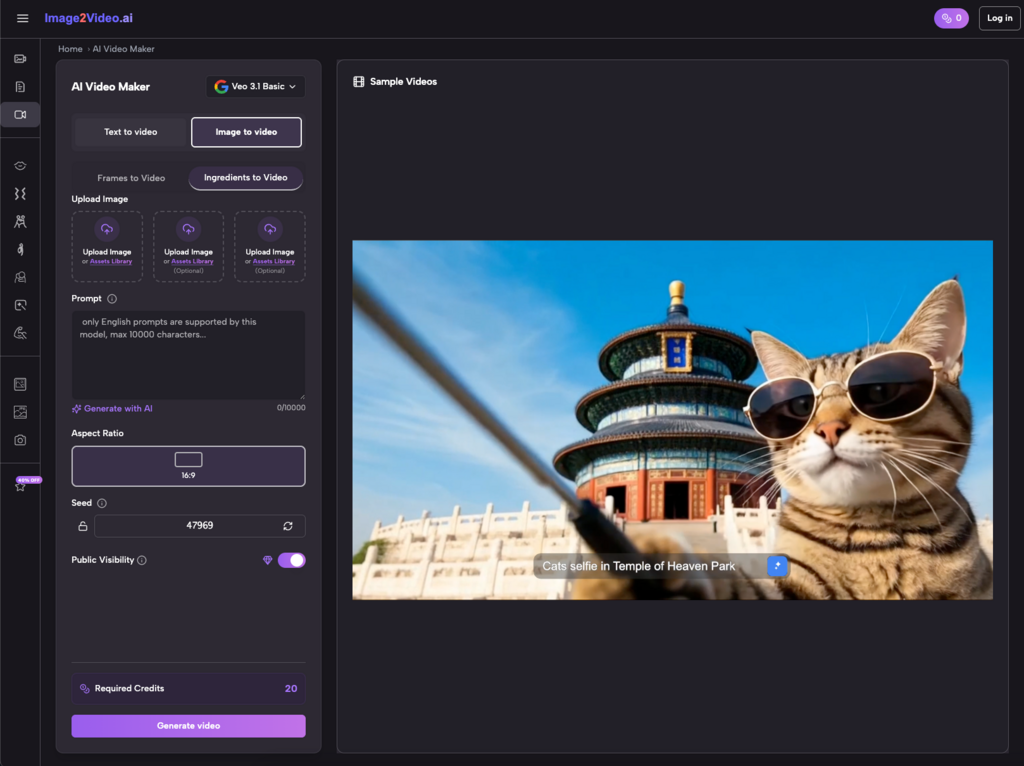
Most free Image to Video AI generators follow more or less the same pattern, whether it’s a vertical SaaS ad tool or a general AI video platform.
Here’s a clean, repeatable workflow you can hand to your team.
Start with:
Then:
Tip from experience: if your base image is low-res or poorly lit, no Image to Video magic will fully save it. Pick your sharpest, cleanest photos.
This is where a lot of people underuse these tools.
Don’t just type: “Make it cool.”
Instead, be specific:
The clearer your instructions, the better the Image to Video AI will match your mental picture.
After you submit:
Free tools might take a couple of minutes or queue your job. That’s normal.
When your Image to Video result is ready:
If something feels off, adjust:
Once you’re happy:
That’s your complete Image to Video micro-workflow.
1. “The video looks fake or cheap.”
Usually a sign of:
Fix:
2. “The text is unreadable on mobile.”
This happens when you treat the screen like a slide, not a phone.
Fix:
Many Image to Video tools give you text overlay controls—use them ruthlessly.
3. “It’s still taking too long to make each video.”
A pattern I see often: founders overthink each clip. For Image to Video AI to save you time, you need to:
For example:
Then you’re not starting from scratch every time. You just plug in the new image and tweak one or two words.
To turn this from “cool test” into an actual business advantage:
Maintain a shared folder of “approved” images for Image to Video usage: hero shots, product photos, lifestyle scenes.
Save your best-performing Image to Video prompts in a doc. Reuse and adapt instead of reinventing.
Tag Image to Video creatives in your ad account or content calendar. Compare CTR, watch time, and conversions vs static images.
Image to Video AI won’t replace a full brand film. It will replace a lot of the “we don’t have anything to post” excuses.
Here’s how I typically plug Image to Video AI into a small team’s toolkit:
You’re not trying to automate creativity—you’re trying to remove all the “heavy lifting” around it.
If you take one thing from this:
You don’t need to wait for a bigger budget or a full-time video hire to start using video seriously.
Pick your strongest product photo, drop it into an image to video tool, write one clear sentence about what you want, and ship that first Photo to Video asset.
Once you see that you can go from “static image” to “publishable video” in a coffee break, the whole content game feels much more achievable.