When you’re cooking up your favorite meals, the last thing you want is a kitchen full of smoke, grease, and strong smells. That’s where a good kitchen ventilation system comes in! It keeps the air clean, removes extra heat, and makes your cooking space more comfortable.
Designing and installing the right ventilation system might sound tricky, but don’t worry; it’s easier than you think. With the right steps and smart choices, you can enjoy fresh air every time you cook. Let’s walk through how to choose the best system for your needs and install it without stress.
When it comes to cooking, having good kitchen ventilation is super important. It helps keep your kitchen fresh, safe, and comfortable by clearing out smoke, heat, and strong smells. Without proper ventilation, your cooking space can quickly become stuffy and unpleasant, making it harder to enjoy meal prep.
During a Kitchen Renovation Manhattan homeowners often prioritize upgraded ventilation systems to improve air quality and overall comfort.
One of the main reasons good kitchen ventilation matters is that it cleans the air. Cooking releases steam, smoke, and tiny grease particles that hang in the air. If these aren’t removed, they can cause bad smells and even make the kitchen walls and ceiling greasy over time. A good ventilation system pulls all that extra moisture and particles out, leaving the air fresh and easy to breathe.
Another important reason for good ventilation is health. When you cook, especially frying or grilling, harmful gases like carbon monoxide and nitrogen dioxide can build up. These gases aren’t safe to breathe in large amounts. Proper ventilation helps get rid of these harmful fumes, keeping you and your family safe while you cook and eat.
Good ventilation also protects your kitchen and home from damage. Without it, moisture from cooking can cause mold or mildew to grow, which can ruin walls and ceilings. Plus, the heat and grease can wear down paint and appliances faster. A well-designed ventilation system reduces these problems by removing moisture and heat quickly.
Lastly, good kitchen ventilation makes cooking more enjoyable. It helps control heat and keeps the air moving, so your kitchen doesn’t feel like a sauna. No more sweating while you cook or dealing with lingering food smells after dinner. With the right ventilation, your kitchen stays pleasant and inviting.
Picking the right ventilation system for your kitchen is key to keeping the air clean and your cooking comfortable. The best system depends on your cooking style, kitchen size, and what fits your space and budget.
If you're planning a kitchen remodeling Brooklyn NY project, choosing the right ventilation setup is a crucial step toward creating a functional and enjoyable cooking space. Let’s break down how to choose the perfect setup for your needs.
There are a few main types of kitchen ventilation systems. The most common is the range hood, which sits above your stove to capture smoke, steam, and odors. These can be ducted, meaning they vent air outside, or ductless, where the air is filtered and recycled back into the kitchen. Another option is the exhaust fan, usually installed in a wall or ceiling, which helps pull out hot air and smells. Some kitchens even use downdraft systems that pull air down through vents near the stove surface.
One big choice is between ducted and ductless ventilation. Ducted systems are more powerful because they send the air outside your home. They remove smoke, heat, and odors completely, making the kitchen fresher.
However, they usually cost more to install and need space for the ductwork. Ductless systems are easier to install and work well if you can’t add ducts. They use filters to clean the air but don’t remove heat or moisture as well.
If you cook often or prepare meals that create a lot of smoke and grease, a powerful ducted range hood is the best choice. For lighter cooking, a ductless system or exhaust fan might be enough. Also, consider your kitchen size; larger kitchens need stronger ventilation to keep the air fresh. Noise is another factor; some powerful systems can be loud, so look for quieter models if you want a peaceful cooking space.
Designing the best kitchen ventilation system starts with careful planning. A well-thought-out design ensures your kitchen stays fresh, comfortable, and safe while you cook. Here’s a simple step-by-step guide to help you create the perfect ventilation setup for your kitchen.
The first step is to look at your kitchen size and layout. Measure the space around your stove and cooking area. Larger kitchens usually need stronger ventilation to move air properly. Think about where windows, doors, and other vents are because they affect how air flows in and out. Good airflow depends on creating a clear path for fresh air to enter and stale air to exit.
Next, decide which type of ventilation system fits your kitchen best. Will you use a ducted range hood that vents air outside, or a ductless system that filters air back inside? If possible, a ducted system is often better because it removes heat, smoke, and smells completely. But if adding ductwork is difficult, a ductless system is a good alternative.
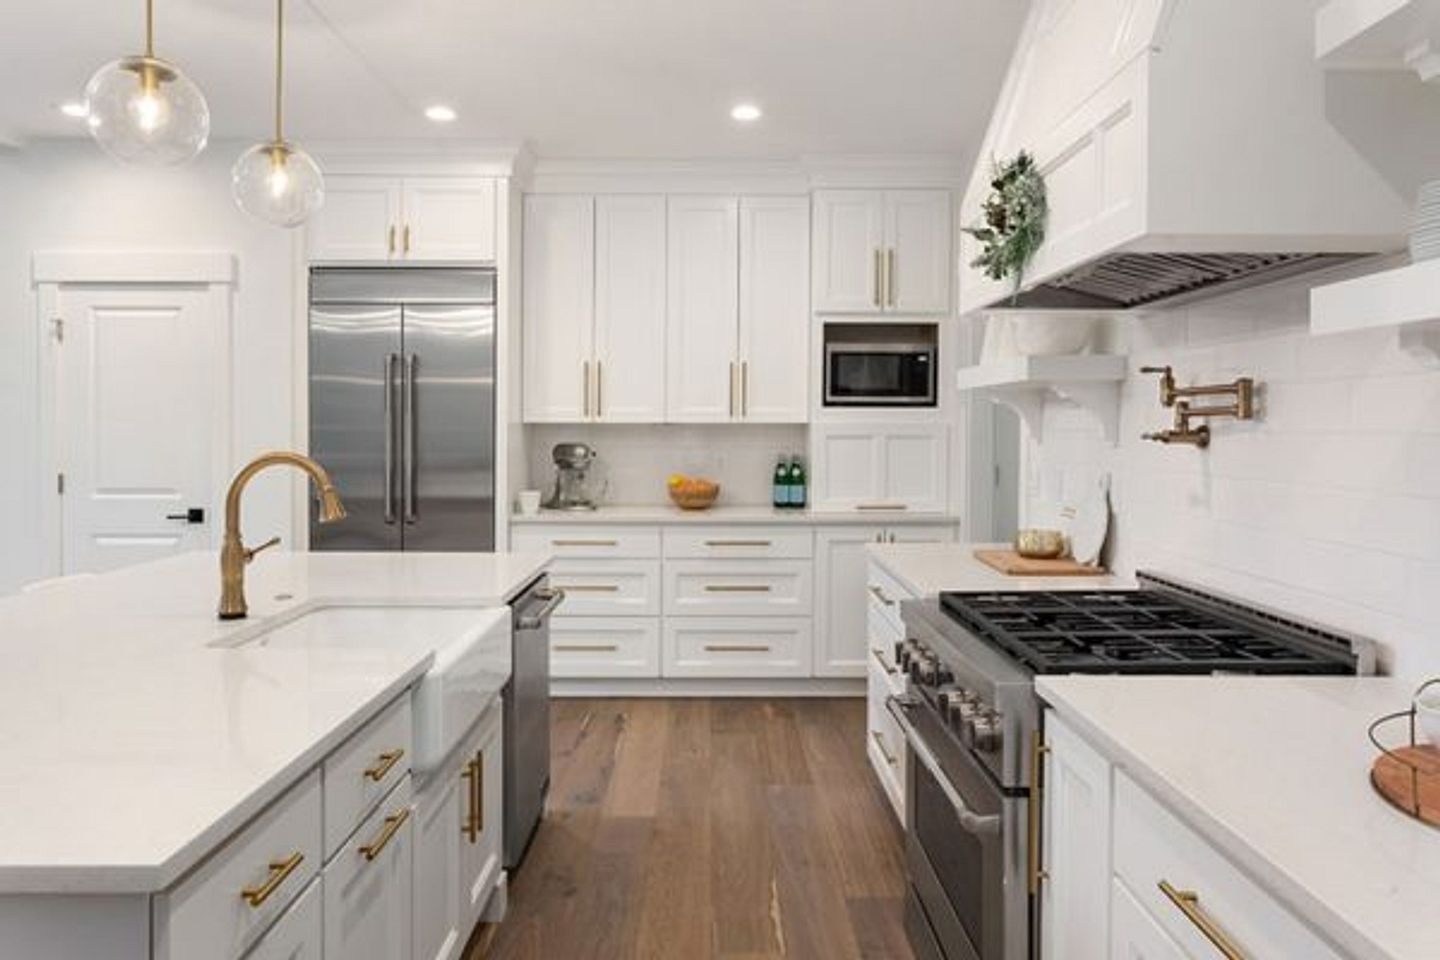
Placement is important. The ventilation system should be installed directly above your cooking surface, about 24 to 30 inches from the stove. This ensures it captures smoke and steam right where it’s produced. Avoid placing it too high or too far away, or it won’t work well.
Check the power rating of your ventilation system, usually measured in cubic feet per minute (CFM). Higher CFM means stronger airflow. For heavy cooking, aim for a higher CFM to clear the air quickly. Also, think about noise levels. Some powerful systems can be loud, so look for models designed to be quiet if noise bothers you.
Once you’ve designed your kitchen ventilation system, the next step is installation. Doing it right ensures your system works well and lasts a long time. While some parts are simple enough to handle yourself, others might need a professional’s touch. Here’s how to install your ventilation system properly.
Before starting, make sure you have everything you need. This usually includes screws, brackets, a drill, a screwdriver, ducting pipes (for ducted systems), and the ventilation unit itself. Having the right tools ready saves time and keeps the installation smooth.
Every ventilation system comes with a manual. It’s important to read and follow these instructions carefully. The manual will guide you on mounting the unit, connecting ductwork, and wiring if needed. Skipping these steps can cause problems or even damage your system.
Install the ventilation unit exactly where you planned; usually above the stove, about 24 to 30 inches high. Secure it firmly to avoid vibrations or noise. If it’s a ducted system, connect the ducting to the outside vent tightly to prevent air leaks. For ductless systems, install the filters and make sure the air can circulate freely.
Some parts of installation, like electrical wiring or cutting through walls for ducts, can be tricky or dangerous. If you’re unsure or not comfortable with these tasks, hiring a licensed professional is a smart move. A pro can ensure everything meets safety codes and works correctly.
After installation, keep your ventilation system in good shape by cleaning or replacing filters regularly. Check ducts for blockages and clean grease traps if your unit has them. This helps your system work efficiently and last longer.
Installing your kitchen ventilation system carefully makes a big difference. It keeps your kitchen air fresh, reduces smoke and odors, and makes cooking a better experience every day.
A well-designed kitchen ventilation system makes cooking better and healthier. Pick the right setup, install it properly, and breathe easy. Whether you cook a little or a lot, clean air matters. So don’t skip it; fresh air is just as important as fresh ingredients in your kitchen.