Rocker switch wiring might seem complicated, but it's easy to understand once you break it down. These switches are things we use daily—lamps, power cords, kitchen gadgets, toys. They allow us to turn things on and off with a button, so they play a significant role in how many everyday items function. Because they're small and easy to use, they're both simple household items and complex machines.
Once you know how they work, you can do a lot with them. You can wire one from scratch, fix one that's not working, or use one for a fun DIY project at home. Knowing how they're wired gives you more control, confidence and safety when working with electrical things. The good news is that it's easier than you think, especially when explained step by step.
This article breaks it down in the simplest way.
So, how does this type of switch work? Well, let's start with the basics. At its heart, it's just what it says on the tin—a rocker. Press one side, and the internal contacts will connect. Electricity flows through the circuit. The connected device turns on, be it a lamp, fan, or small appliance. Press the other side, and the connection will be broken. Electricity stops flowing, and the device turns off.
Small metal parts move back and forth with each press inside the rocker switch. This movement is what opens or closes the electrical path. It's simple but clever and effective. This little action powers many things we use daily—from kitchen gadgets and electronics to lights and power tools.
This is where rocker switch wiring comes in. The wiring connects everything—the power source, the switch, and the device it controls. When wired correctly, this smooth rocking movement enables devices to be immediately and safely turned on and off.
A rocker switch's core is the wiring. It links the switch and the gadget it controls to the power source. The switch is nothing more than a plastic covering devoid of adequate wiring. Think of wiring like building a road; traffic won't move if the road doesn't lead to the proper place. If the cables are cut in this instance, the electricity won't travel. The change could not be functional, the gadget won't switch on, or the configuration might be dangerous.
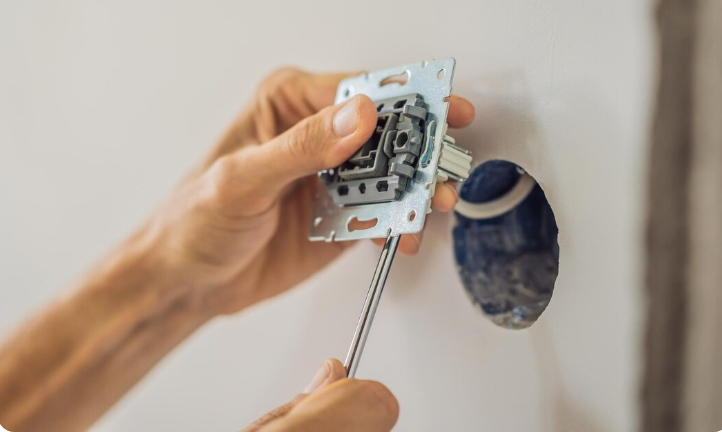
Most rocker switches have three tiny metallic tabs called terminals on their back. One terminal delivers electricity to the switch. Another transmits this strength outward to the device. The third might be used to ground the switch or to power a built-in light that glows when the switch is on.
This is why rocker switch wiring has to be perfect. Confusing the wiring will upset the entire system. Everything operates as it should when the wires are aligned to the correct terminals; on and off means off. It's this deliberate link that keeps everything running safely and smoothly.
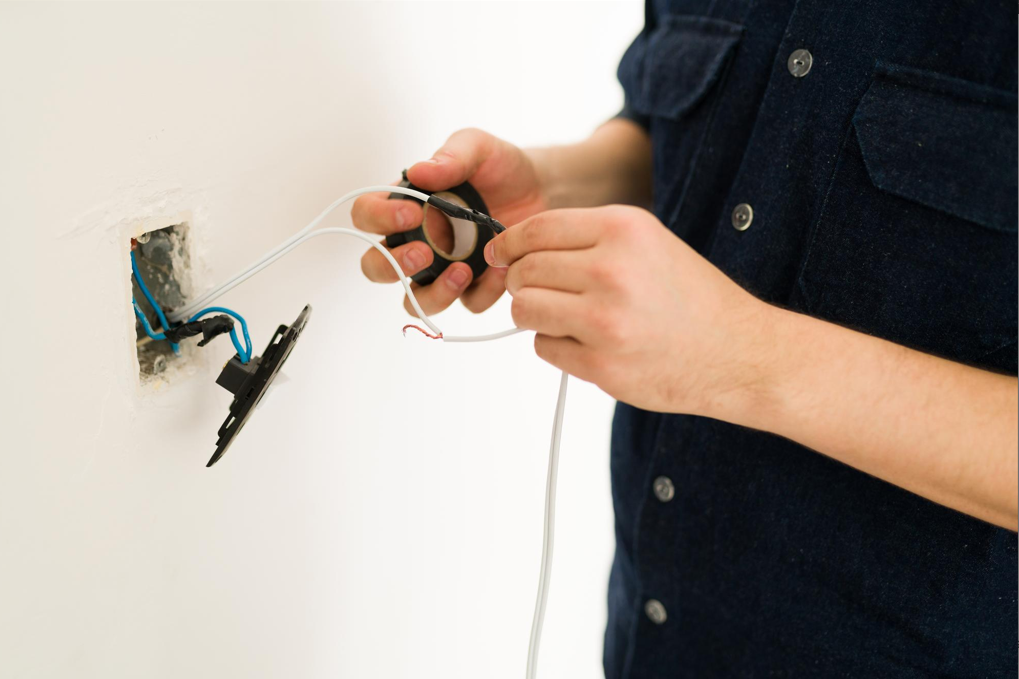
Getting the wiring right is all about following a few simple steps. First and most importantly, turn off the power at the source. This will keep everything safe while you work. Once the power is off, look at the switch and the wires you'll connect. You'll usually see a few wires coming from the power source and the device you want to control.
Start with the wire that comes in from the wall or primary source. This is the "hot" or "live" wire. It connects to the terminal on the rocker switch labeled "common" or "power in." Next, find the wire that goes to the device – maybe a lamp, fan, or appliance. This is the "load" wire, and it connects to the terminal labeled "load" or "output."
Some rocker switches have a third terminal. This may be for a ground wire or a small internal light that turns on when the switch is active. If your switch has this light feature, the extra wire helps make it glow. Some setups won't need this third wire, while others will. You can find out by reading the instructions or checking the switch markings.
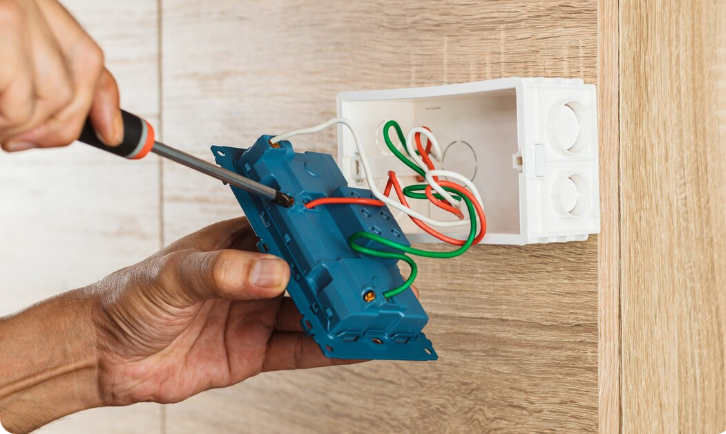
Some rocker switches do more than turn one thing on or off. These double or combo switches control two separate devices in the same spot. For example, one side might turn on a light and the other a fan. Although they look like one unit on the outside, on the inside, they have two separate switches that sit side by side.
Because there are two switches in one, each side needs its own set of wires. One wire brings power into the switch. Then, each side sends power out through its wire to its device. Sometimes, there's also a shared ground wire or extra connections if the switches have lights.
This kind of rocker switch wiring requires a bit more attention to detail. Each wire must be matched to the correct terminal on the side of the switch. When it's all wired up correctly, the switch works great. Press one rocker, and the light comes on. Press the other button, and the fan starts.
Even though more wires and parts are involved, the core idea is the same—pressing the rocker makes or breaks the electrical connection. The switch still controls the flow of electricity in the simplest, most direct way.
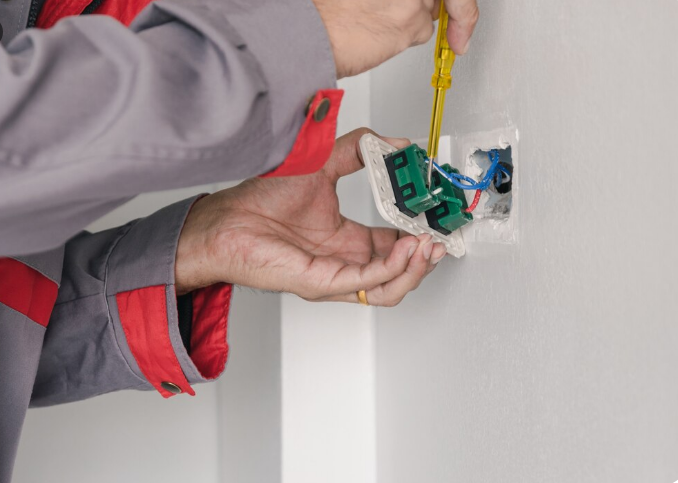
While wiring a rocker switch is simple, you can still make a few mistakes. The good news is that most of these mistakes are easy to catch and even easier to fix once you know what to look for. Take your time and check your connections, and you'll save yourself frustration later.
One of the most common mistakes is mixing up the input and output of the wires. The switch won't work if the power wire is connected to the wrong terminal. Sometimes, it will even work in reverse –press "off," and the device turns on. Luckily, this can be fixed by just swapping the wires to the correct position.
Another issue is when the ground wire is left out, especially when light switches are used. That missing connection will stop the light from working or cause flickering. Also, if the wire screws aren't tightened properly, the switch won't have a good connection. That can make the switch feel loose or cause the device to not respond as it should.
It's not hard to understand rocker switch wiring. Once you get the basics, you will match the wires to the right spots. Then you press the switch and watch it work.
You don't have to be an expert. You have to be careful and go step by step. And the more you do it, the easier it gets.